HOW TO USE OUR:
Magic Gel Inserts & Spots
Magic Gel Inserts
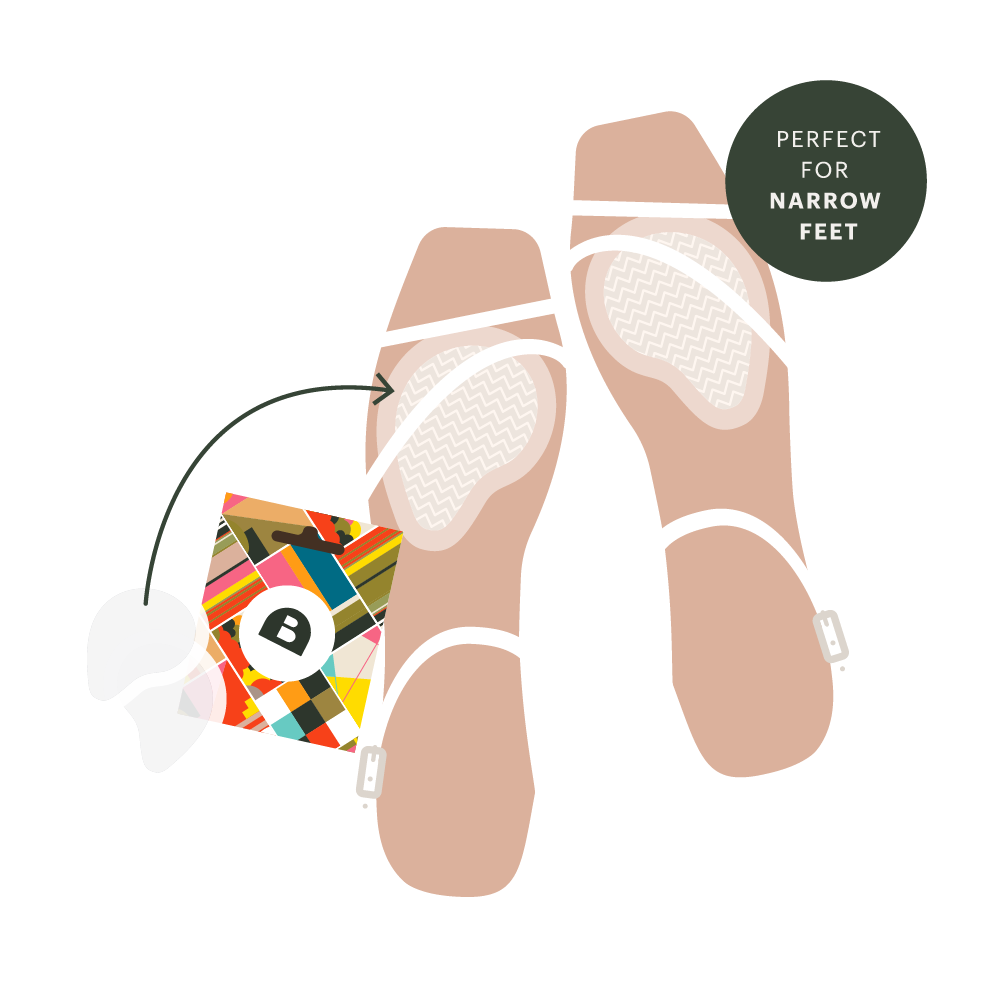
If your footbed doesn’t budge and your shoes feel too roomy, try our Magic Gel Inserts. These nifty little pads will minimise the space in the shoe and push you back into the heel. Get a perfect fit within three easy steps!
1. Place gel insert in the front of the shoe
Place the wider end towards the forefoot of the shoe and the tapered end facing your heel. Don’t stick it down yet! This is to test the position.
2. Time for a test drive
Securely tighten the ankle strap and take a walk around to see the position feels comfortable or if it needs to be adjusted.
3. Stick it down
Once you’re happy with the it, peel the plastic backing off the gel spot and stick in place.

How to use our Magic Gel Spots
Magic Gel Spots
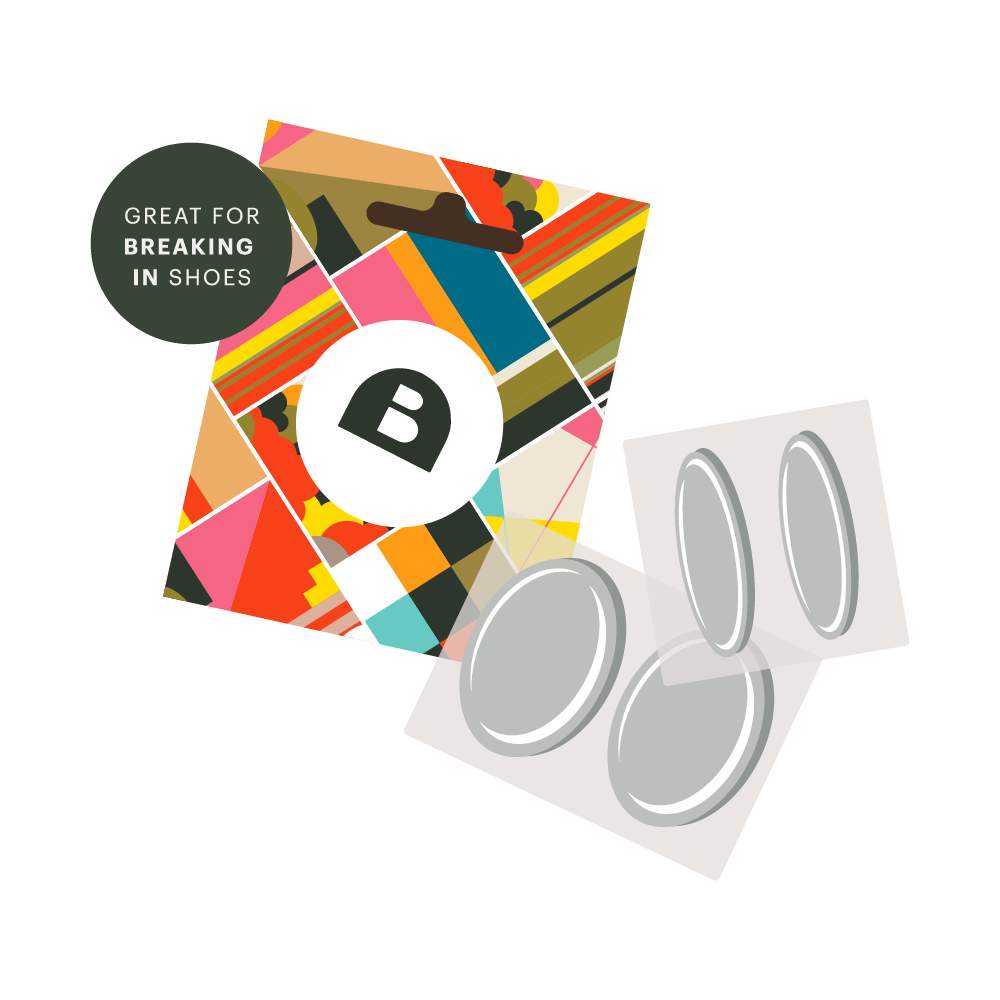
Have a few ouchy areas? Our Magic Gel Spots reduce friction and alleviate any pressure from the leather to speed up the wearing in process. You’ll be walking on sunshine in no time!
1. Find the right size
Our magical gel spots come in two convenient sizes! Two large spots and two small spots that can be stuck anywhere inside the shoe. TIP: The gel spots can easily be trimmed to get that perfect shape for your shoes!
2. Locate the ouchy spot
Find the spot that’s causing friction and pressure.
3. Stick it down
Peel the gel spot off and stick it in place. Press down with your thumbs and massage the spot to ensure they don’t budge. Then let the magic happen!

How to use our Magic Gel Inserts
Magic Gel Heel Lifts
If your heels are feeling pinchy and you're feeling discomfort, try our Magic Gel Heel Lifts. These nifty little lifts will elevate you in the shoe, and relieve heel pressure.
HOW TO:
1. Remove the footbed.
2. Peel back the adhesive and apply the Gel Heel Lift to the heel of your shoes.
3. Take your shoes for a test drive.
How to order our gel accessories
Reach out to our Customer Service team and they'll arrange for some gel spots or inserts to be sent out to you.
Need some more wearing in tips?
Check out our How To Break In New Leather Shoes. Not to mention our fitting expert are always here to help!